My DIY ergonomic travel workstation with aluminum and magnets
Ever since moving from NYC to SF to work at Anthropic I’ve been visiting NYC and working remotely quite often. So I designed myself a travel workstation that lets me get the best of ergonomics and packability.
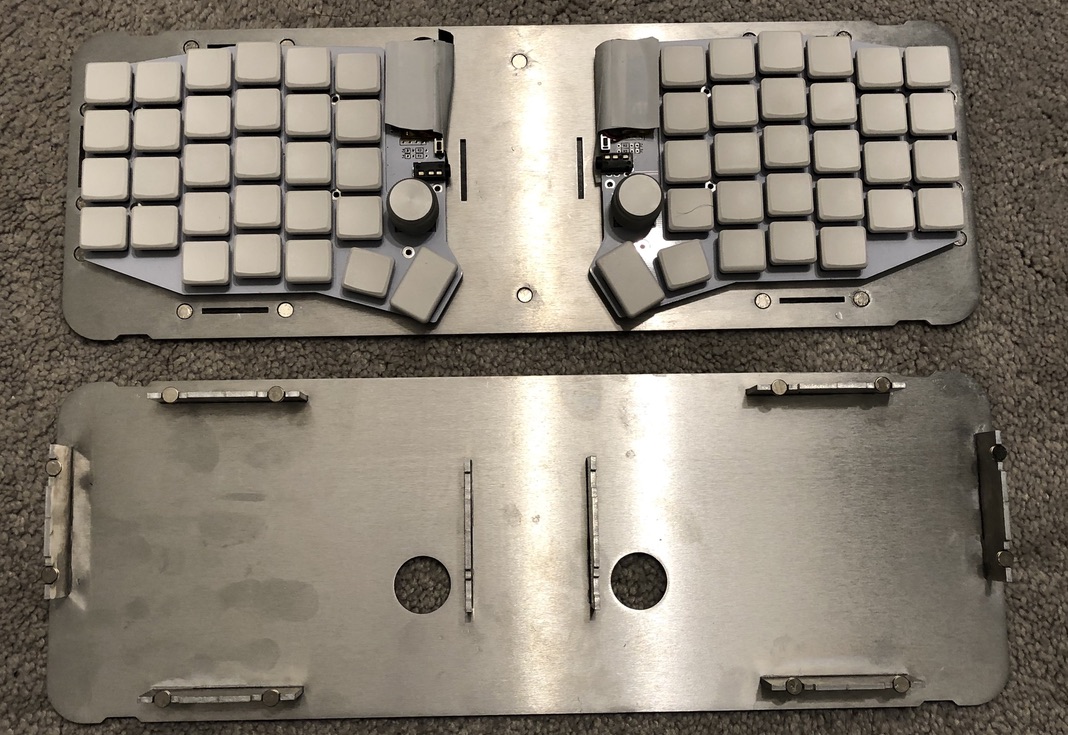
It includes a few off-the-shelf items, and a custom-designed laser cut aluminum keyboard case that doubles as a lap-board to hold my keyboard and trackpad:
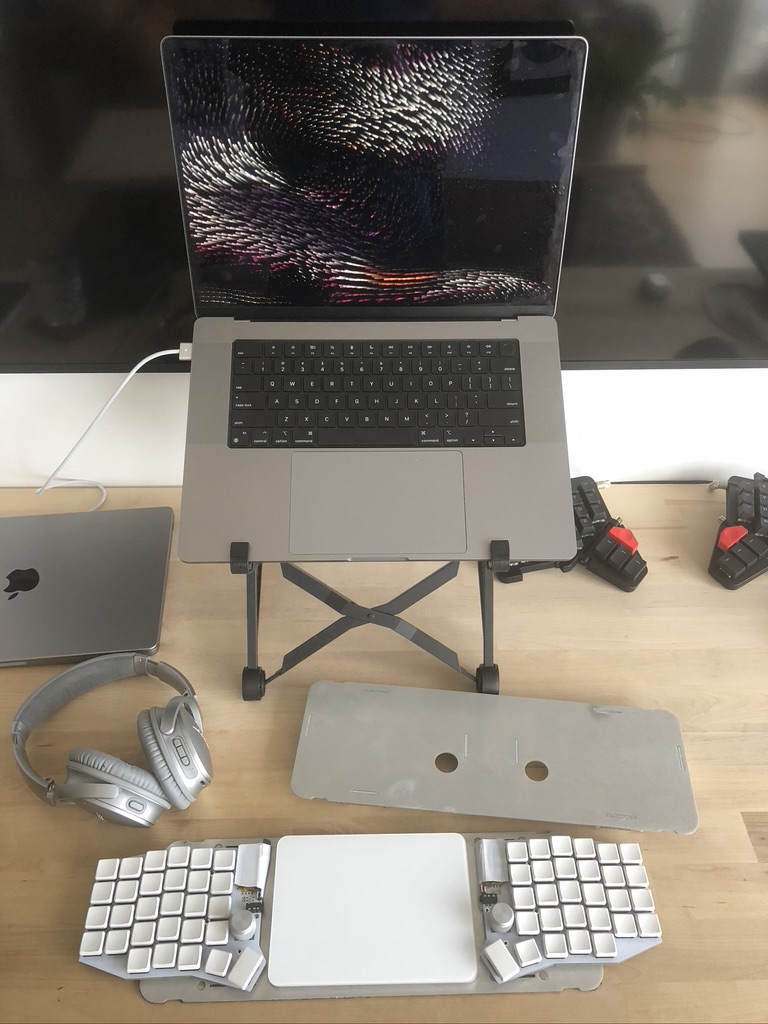
I can use the keyboard and Magic Trackpad on a desk or on my lap, with the folding laptop stand keeping the screen at a comfortable height. The keyboard is a Sofle Choc I soldered together from a kit, modified with Purpz low force switches which I find way more comfortable than standard-force, and nice!nano wireless controllers.
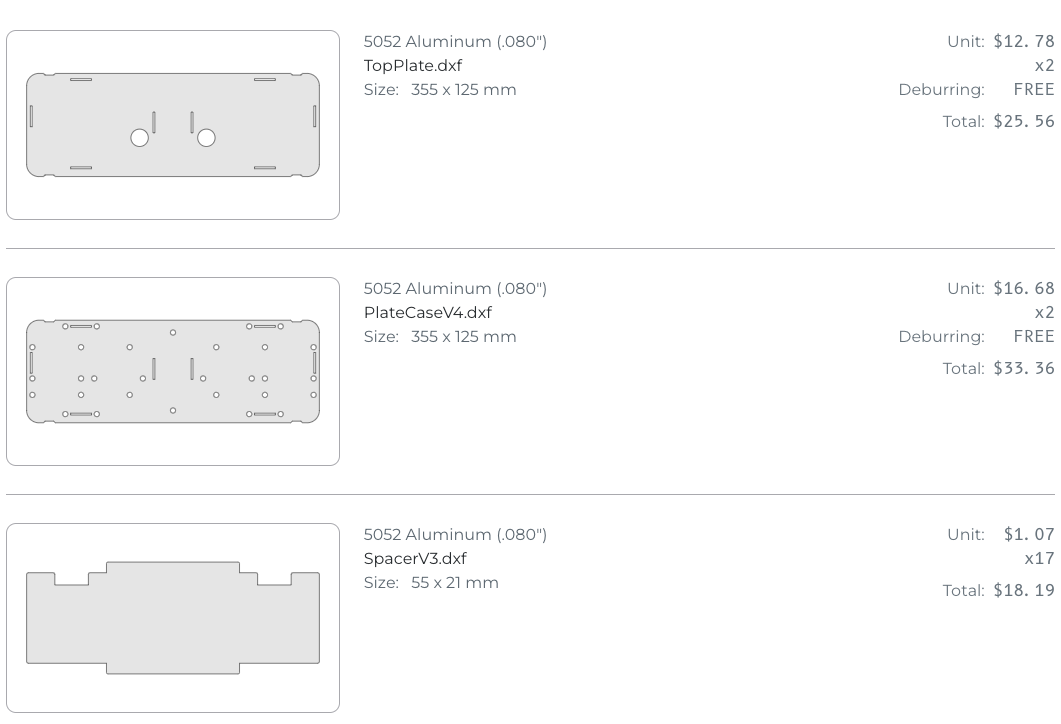
The case only cost around $40, despite being made out of 3 different profiles made of very robust 2mm thick aluminum plate and only ordering two. It turns out SendCutSend is a magical service that offers ridiculously cheap custom laser cutting of lots of materials with less than one week turnarounds.
I’ve now been using it and traveling with it for many months and it’s been really great. I’m not aware of any similar off-the-shelf setup that combines a super light nice ergonomic keyboard with a Magic Trackpad on a lap board, that can be protected by a robust carrying case.
Transforming with magnets
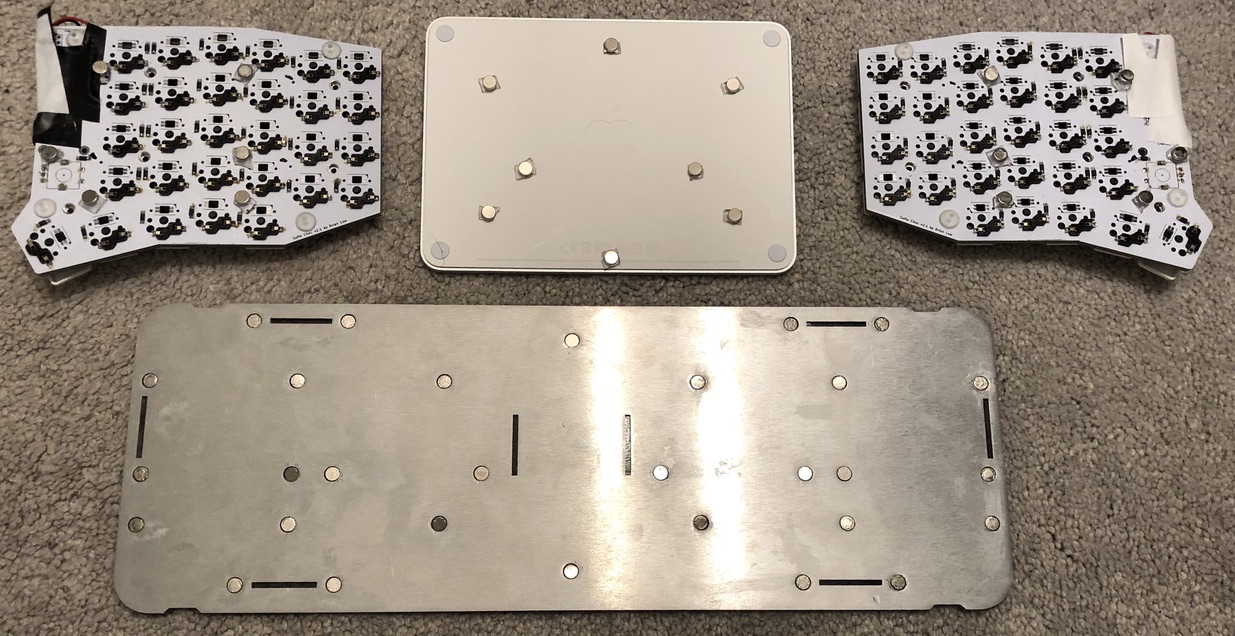
The whole thing uses tons of little neodymium magnets super-glued in to the plates and gel taped to the electronics, to allow easily moving between the lap board configuration and a robust carrying case configuration to put in my bag. The keyboard halves snap into two different positions, one spread out and another closer together fully inside the case. The top half of the case also snaps on with magnets, with tabs to hold it in place horizontally.

The Magic Trackpad is far more robust than the keyboard PCBs so I shove it in a different small pocket of my bag.
Other setups
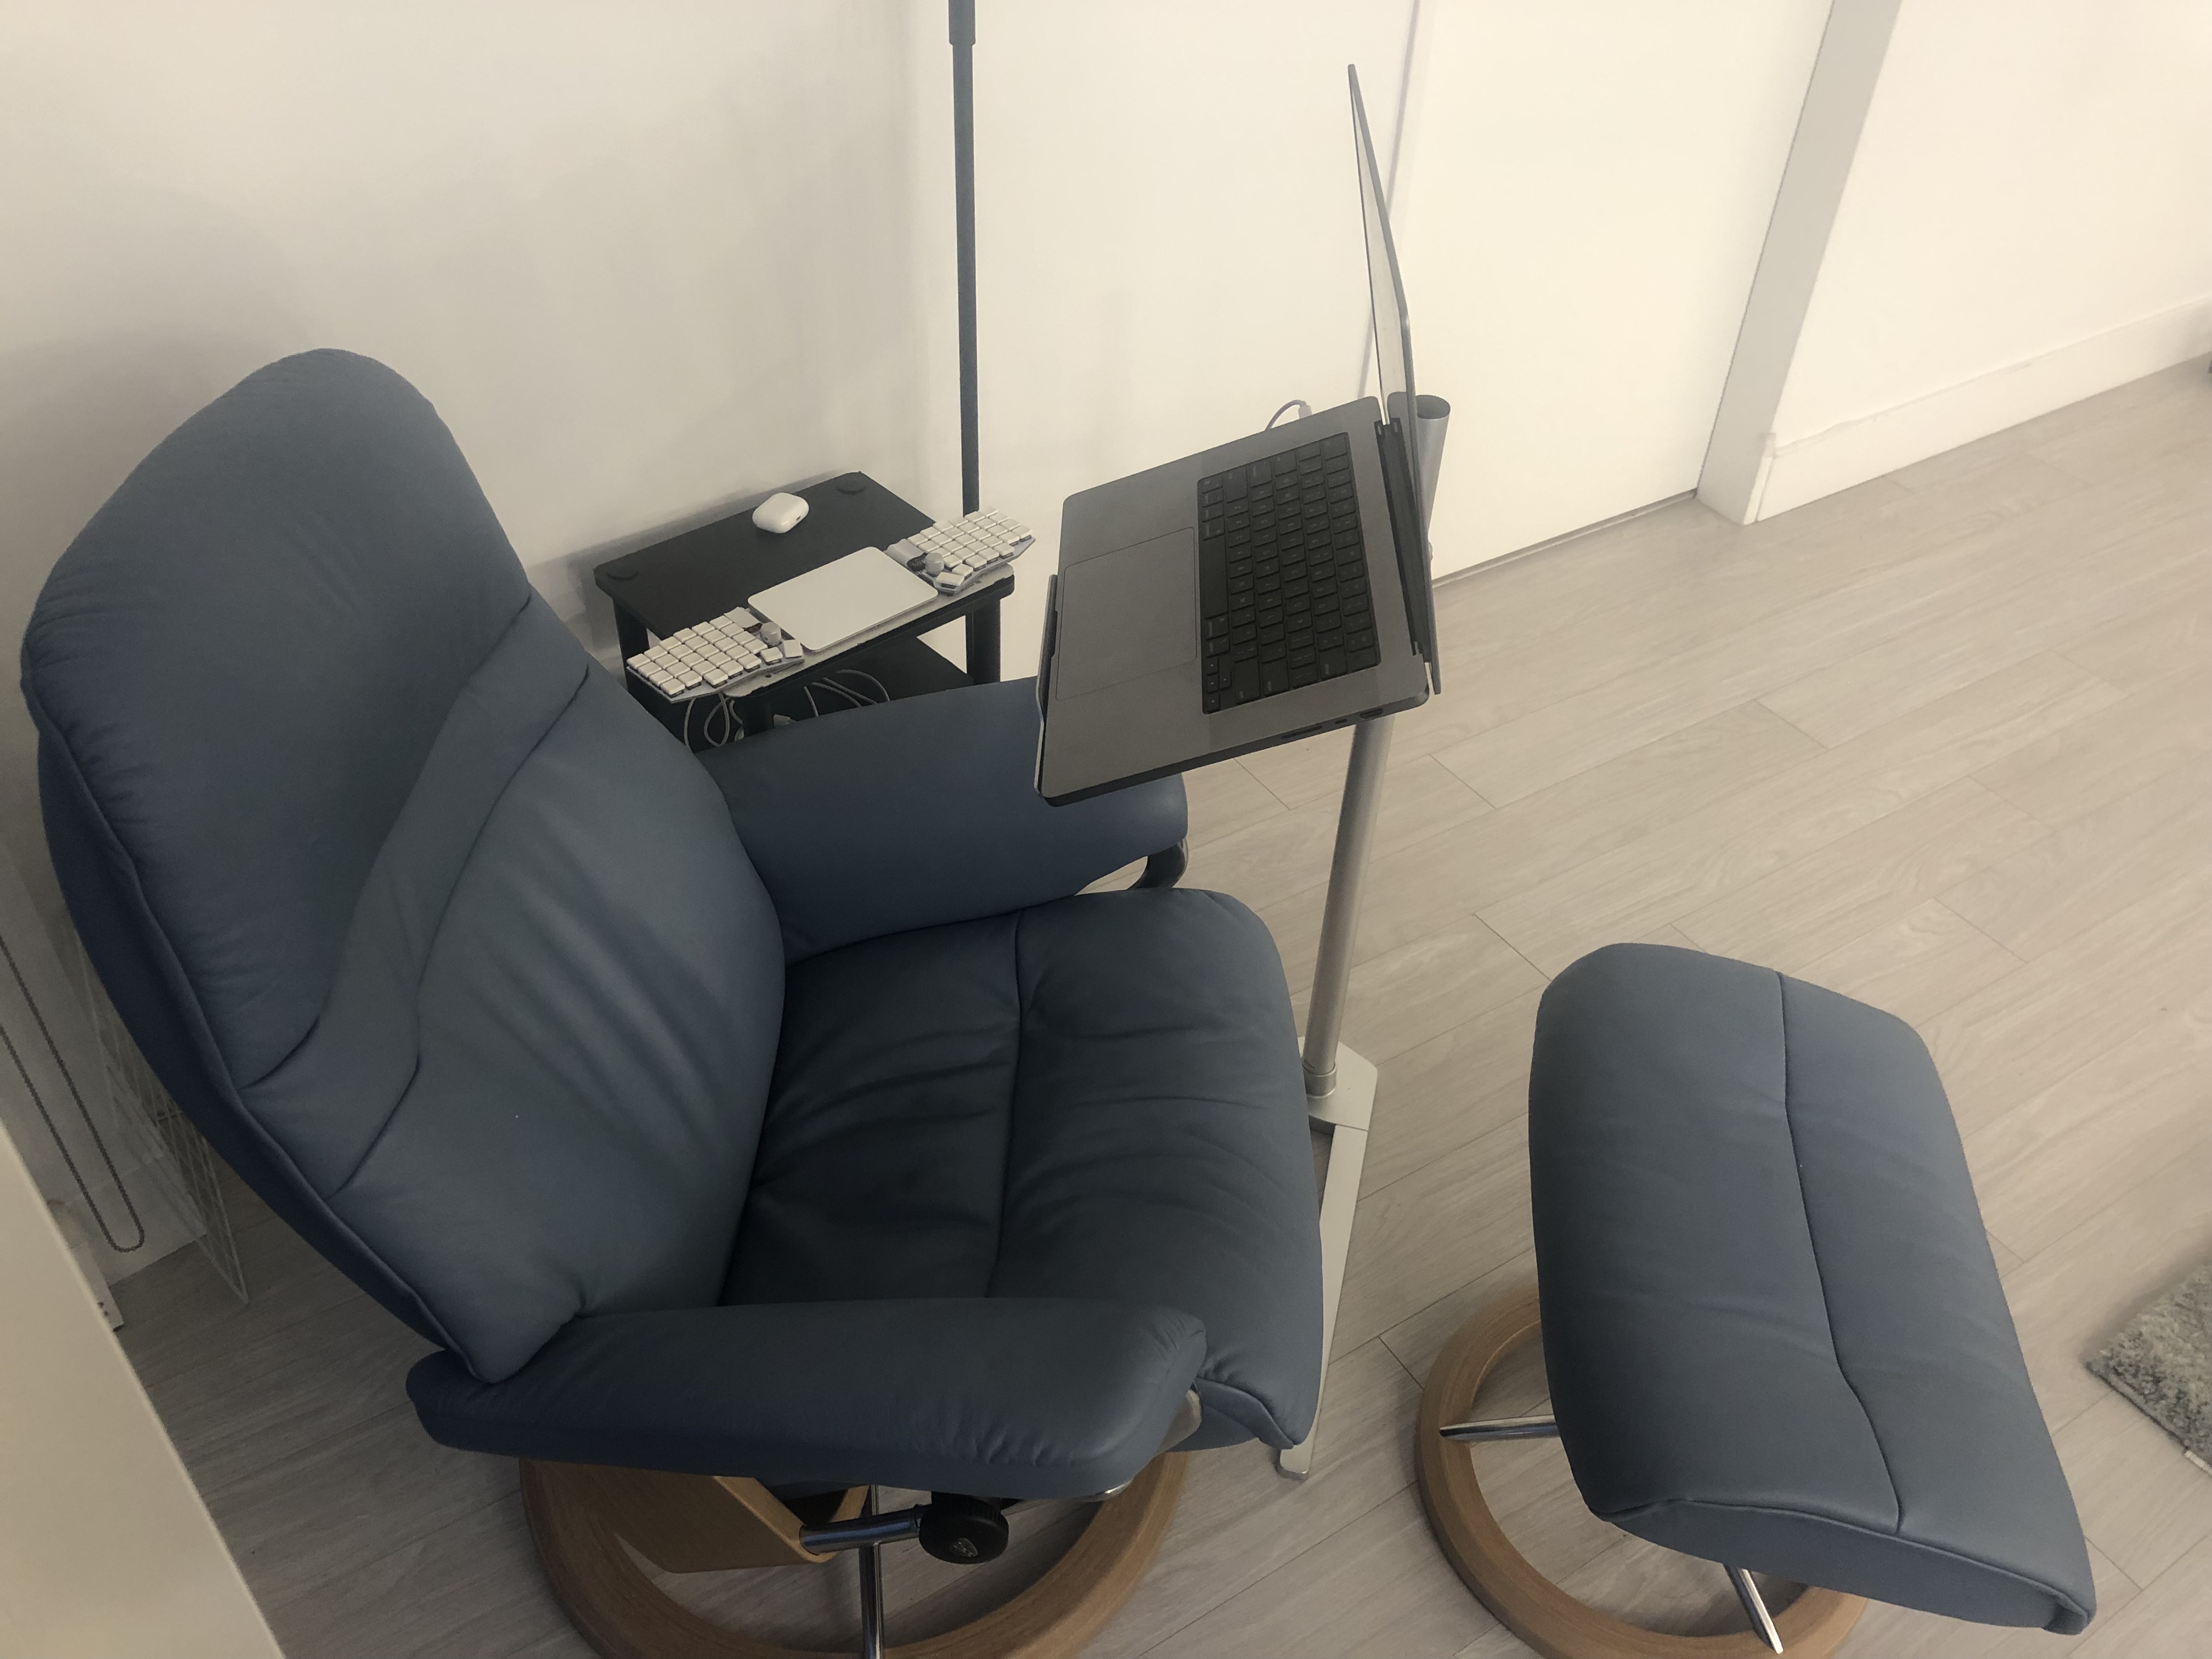
I can also use it to create a very comfortable reclined working setup by combining the lap board with a comfy recliner and a recliner laptop stand. The displays on modern Macbooks are really good and make this kind of setup a really comfortable way to use a computer. The stand arm just swings out of the way, and I place the lap board on the side table when I want to use the chair normally.
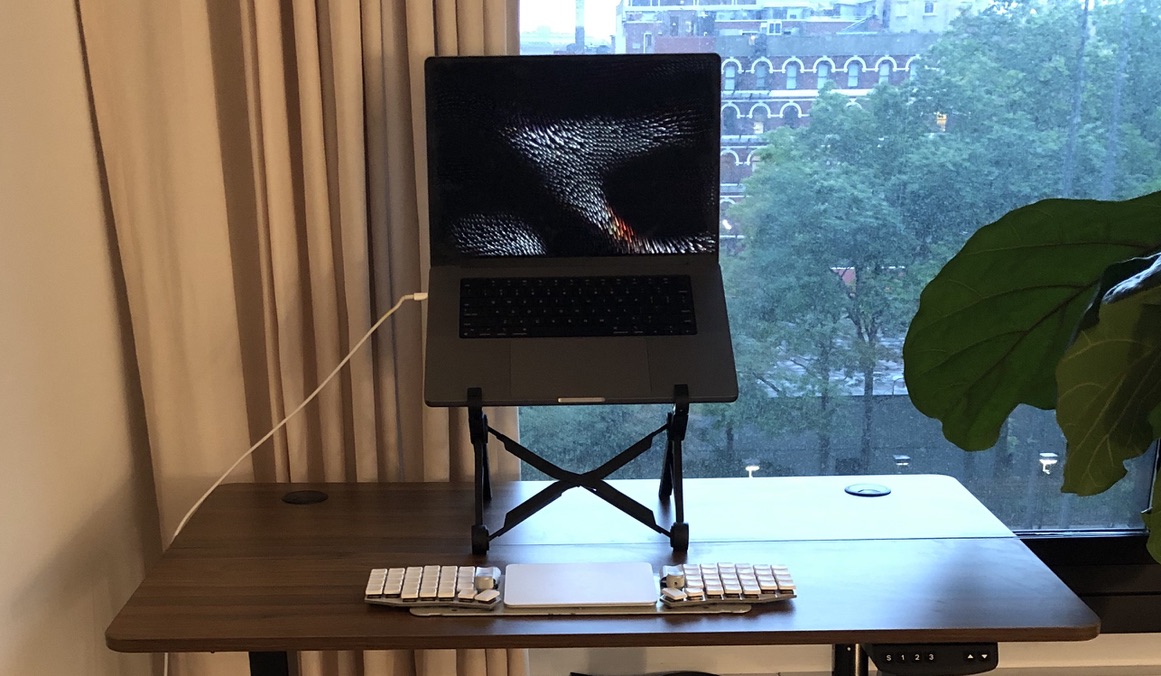
Or combine it with a standing desk:
Optimizing sleeping on flights
My other big travel optimization has been taking overnight flights and sleeping on them, which I didn’t used to be able to do without waking up constantly due to my neck hurting. I first mostly solved this using a trtl pillow, which unlike classic airplane pillows doesn’t constrict my neck blood flow and actually allows me to lean my head to the side.
Then my coworker recommended getting a medical foam cervical collar, which was even better and completely eliminated my neck pain sleeping on flights. I first got one that was too short, and then found the one I linked which suggests how to measure your chin height and offers a larger size. That one is also black which looks less medical.
If you don’t like standard foam ear plugs, I also recommend trying wax ear plugs which you shape into a pancake over your ear opening. They feel weird in a different way which is less stuffy and more comfortable for me.
More detail
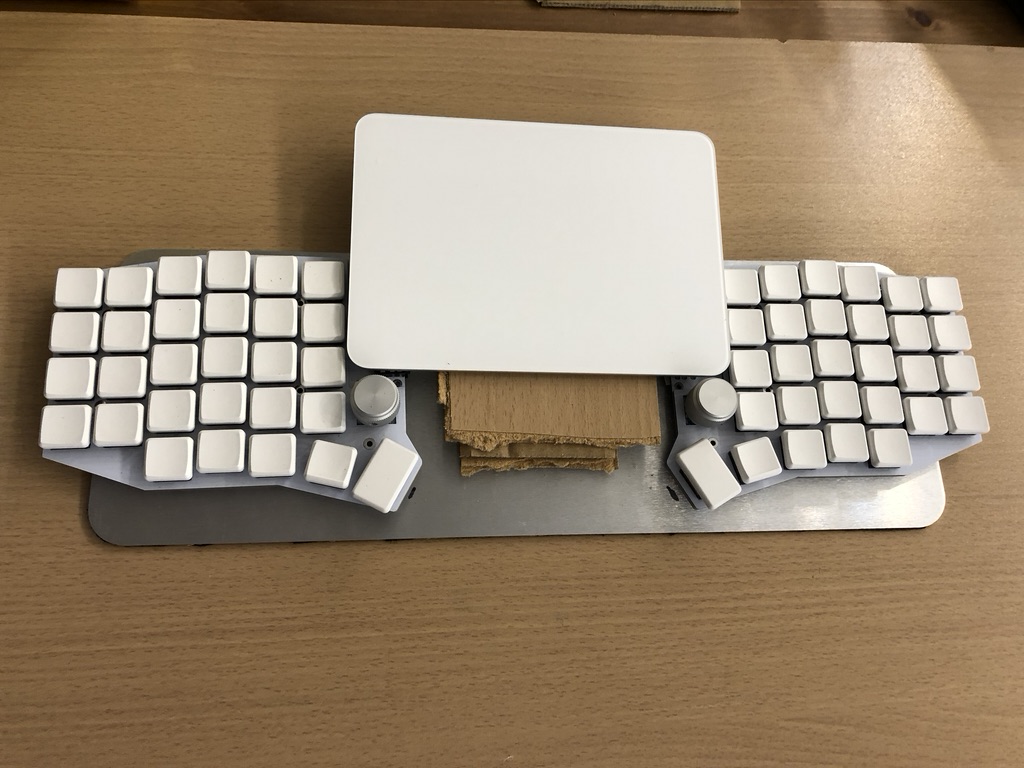
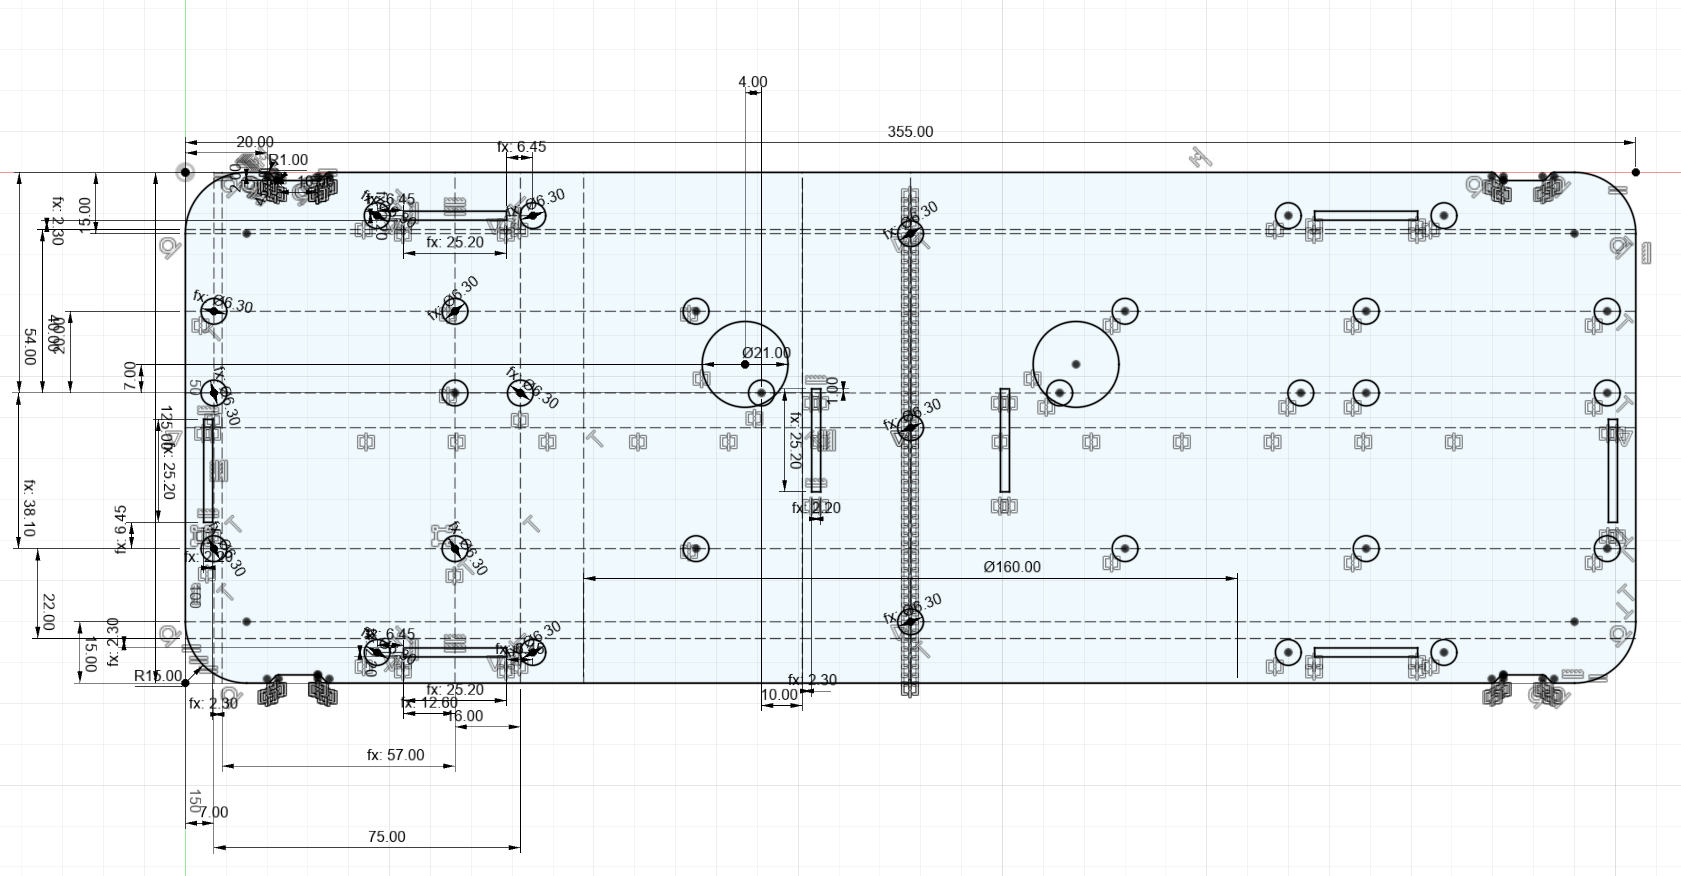
I did my design in Fusion 360, and the first version I ordered was just a lap board, which I then had to hack adding a magic trackpad mount onto without quite enough space by stacking it on some hardboard:
I had the combo case/lapboard idea for the second version, and at first I planned to have an identical top and bottom plate. But SendCutSend prices are higher the more holes you want them to cut, so especially given I was also ordering a case for a friend, it was cheaper (and nicer looking) to have a separate top and bottom plate. The little indents on the side of the case were for in case the magnets didn’t work well and I needed to keep it closed by sliding elastic ribbons over it. You can download the DXF files if you want to order them yourself here
I then assembled it using cyanoacrylate glue, 6mm neodymium magnets, and double-sided gel tape to attach the magnets to the keyboard and trackpad. I needed to use sticky tack on the back of the magnet holes while putting the glue in so it wouldn’t run out. I also put neoprene foam on the back of the case to make it comfortable and grippy on my lap or the desk. I also reinforced the spacer joints with hot glue after super-gluing them, for redundancy at the cost of aesthetics. It took about 2 hours to assemble the case.
Before assembling it, I used a sharpie through the holes to mark dots on the back of the electronics, so that I could superglue magnets in place. I had to make sure to get the polarity of the magnets right so that the keyboard snapped in both positions. I went with opposite polarity on the left and right sides, that way I can attach the keyboard halves to each other for a lighter more fragile keyboard-carrying setup, and also kind-of attach the Magic Trackpad to the back of the case while it’s closed (I only thought of this after, the center magnets hurt this).
More on the Sofle Choc keyboard kit
The keyboard kit took me around 3.5 hours to solder. I’m really happy with the low force Purpz switches. I started using low force switches back with my original keyboard build when I had RSI issues and I think they made a noticeable difference then, and nowadays I still find them more comfortable. I’m not happy about soldering in the rotary encoders, I never use them and they add height, but I can’t really remove them now. The wireless controllers were nice for a bit, and it’s nice not to have a cable between the sides, but the battery life of the primary half is bad and I messed up the pairing a bit, so I mostly use it with a cable nowadays, this may be fixable. I’m quite happy with the Sofle Choc overall, the thumb keys are comfortable close to the main keyboard and it has lots of them, although the thumb keys all being in a line can make it hard to hit the right one relative to more clustered designs.
Other fun with SendCutSend
I haven’t really done any bloggable programming projects this year, because I’ve been doing more hardware stuff (and more socializing).
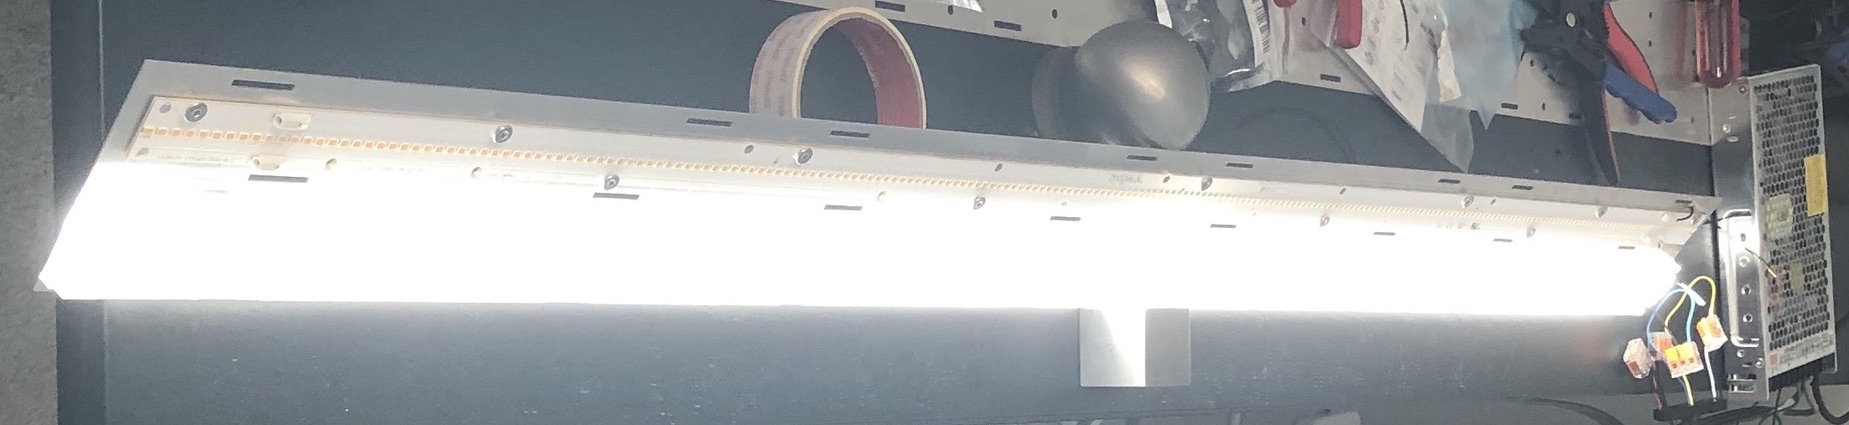
Some other stuff I’ve made with SendCutSend has included some prototype backing plates for the super bright LED lighting bar I’m designing:
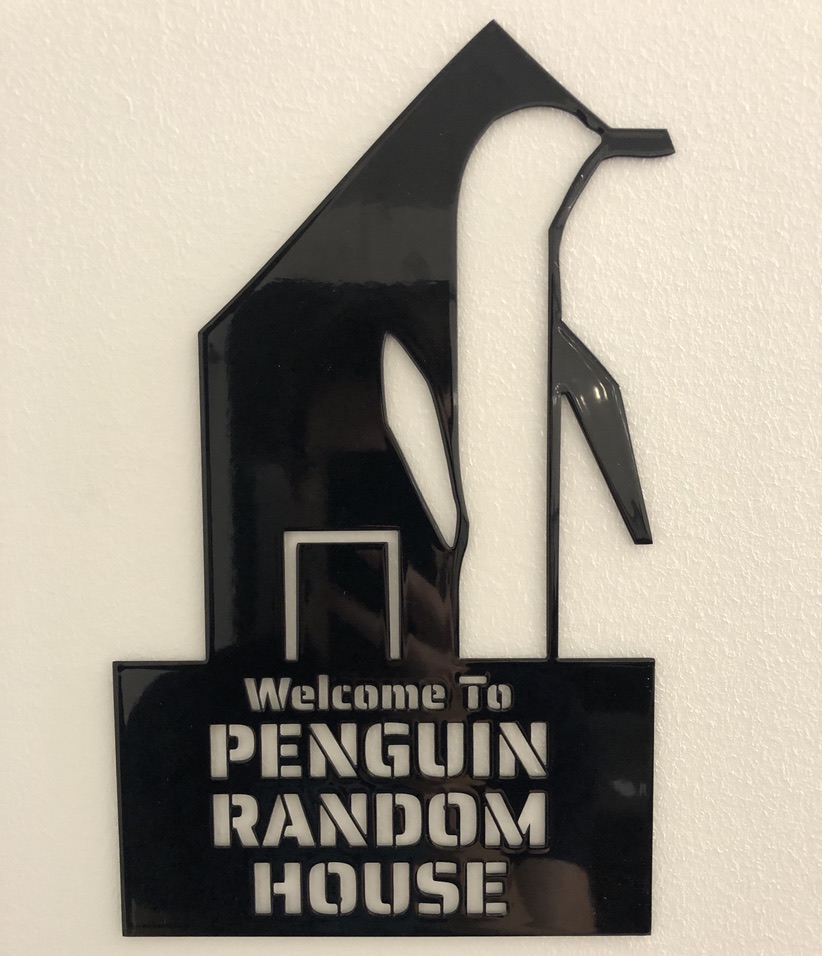
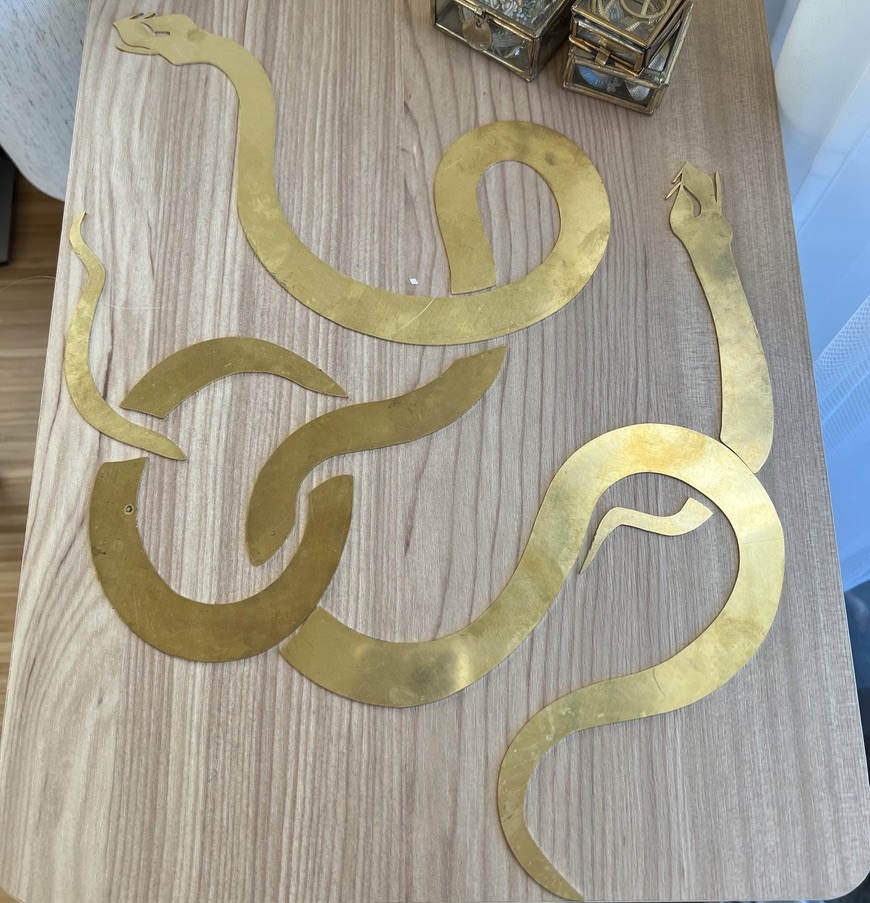
I’ve also experimented with using DALL-E to ask for “minimalist black and white line art”, using vector tracing software, then cleaning up and modifying the design in Inkscape. This lets me create custom laser cut metal wall art cooler than I could design myself. Shown below are a powder-coated steel sign for a joke group house name, and brass snakes I helped make for someone: