Magic PNG Thumbnails
I was shown trick by a friend where an image was posted on a website that displayed one thing in the thumbnail and another in the lightbox. http://funnyjunk.com/channel/ponytime/rainbow+dash/llhuDyy/15#15
This post contains an explanation of how these images work and how I was able to replicate their behaviour.
The Behaviour
Certain renderers of the png files would display one image and other renderers would display a completely different one. One image is always dark and one is light.
Example:

Things that display the light image:
- Thumbnail renderers (Facebook, etc…)
- Apple png rendering
- Windows png rendering
Things that display the dark image:
- Firefox (and by extension anything that uses libpng)
- Google Chrome
This can lead to interesting combos:
- linking the image on facebook can show one image as a thumbnail but a completely different one when the link is clicked.
- A picture that detects the user’s browser. (Chrome/Firefox or Safari)
- A picture that displays one thing in the browser and a different thing when downloaded to the user’s (victim’s) computer.
- The classic image board thumbnail.
The Challenge and Victory
I started on a long journey to figure out how this effect works so that I could replicate it. The path to enlightenment involved many wrong turns including believing that the image was being interpreted as a GIF but I eventually discovered the truth.
After I discovered the secret I wrote a command line tool in Ruby called doubleVision so that anybody could generate magic thumbnail images.
doubleVision is available on Github and as an executable Ruby gem.
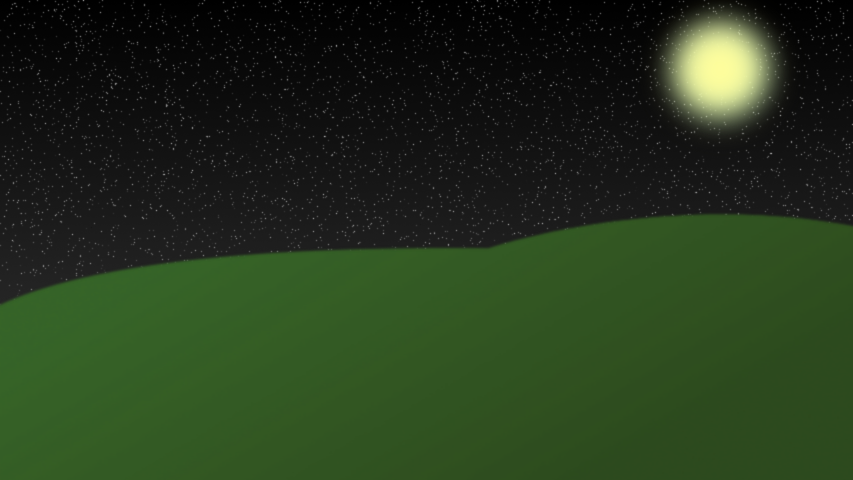
The output images look like this:

Try downloading it to your computer and then viewing it. Cool eh?
How it works
The PNG specification contains a metadata attribute that allows you to specify the gamma to render the image with. This attribute is intended to be used to ensure that images look identical on all computers. This is a very normal image processing process called Gamma Correction
The PNG specification defines the gAMA chunk (the chunk that stores the gamma value) to change the image output like so:
light_out = image_sample^(1 / gamma)
This scales the image values exponentially based on the reciprocal of the gamma value. If the gamma value is around 1 like it normally is this function has little noticeable effect. During this process, the lowest brightness value for a pixel is 0 and the highest is 1.
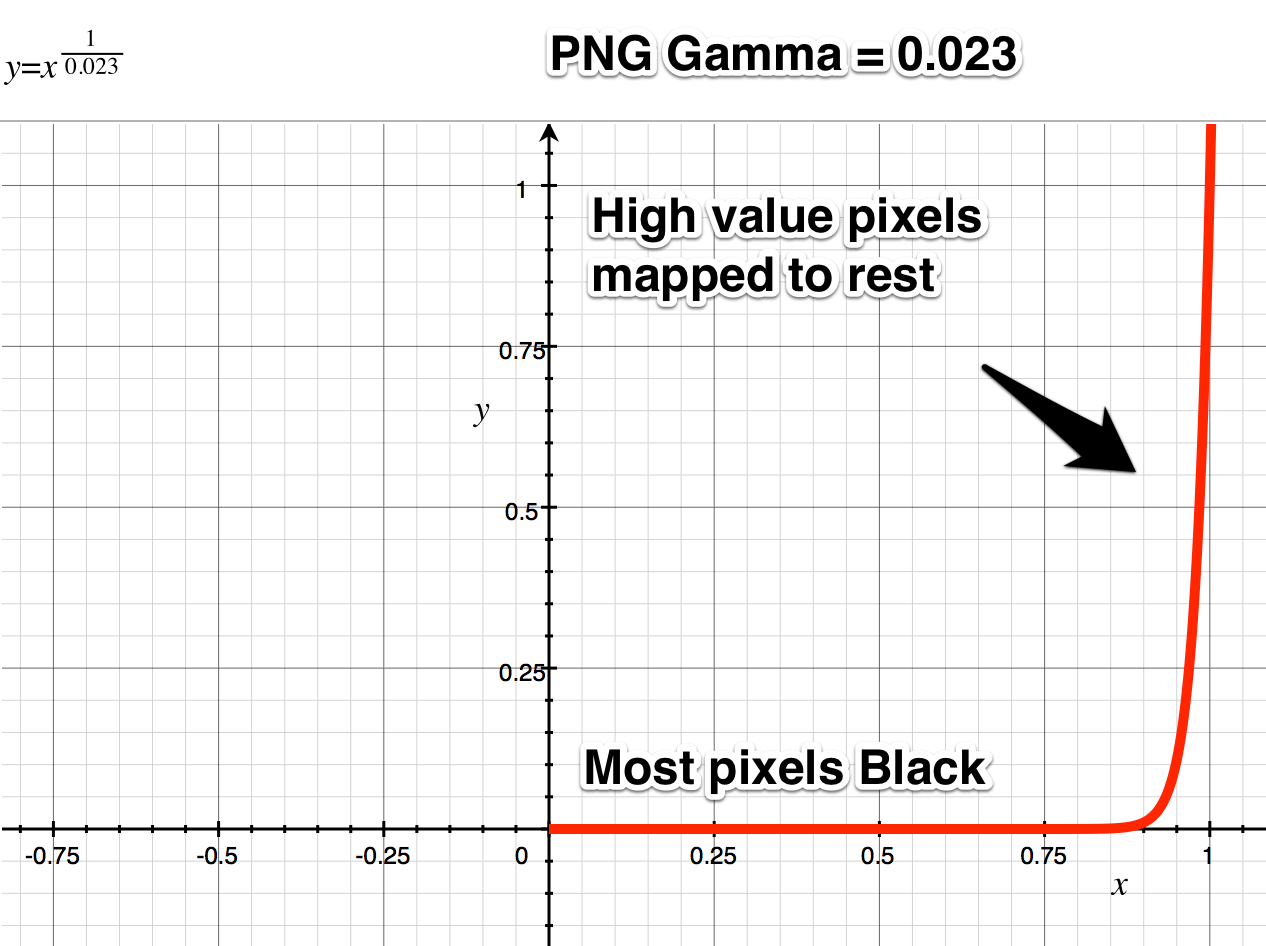
If we set the PNG gamma attribute to a very low value, making the exponent value very high (since it is the reciprocal), all darker pixels will be made black and all lighter pixels will be mapped to the normal spectrum.
Exponential Gamma Mapping

We can reverse this mapping for a very low value of the gamma attribute (I use 0.023) to get a PNG image where all the pixels of the image are mapped to very light colors. If we then set the gamma value of the PNG to 0.023 the image will look somewhat normal, except for the rounding errors introduced by crunching the image into high values.
The thing is, not all renderers support the gamma attribute. If we try and view this image in a renderer that does not support the gamma attribute it will show too bright to make out.
We can abuse this to create a magic thumbnail by taking two images of the same size and creating a new image twice their dimensions. One image is run through the previously mentioned reverse gamma filter that makes all pixels very bright and the other is darkened so that it has no very bright pixels. The images are then spaced out in grids around each other (see image). The resulting image is saved as a PNG file with a gAMA of 0.023.
Pixel Grid Pattern
![]()
When the image is displayed in a renderer that supports gamma (Like Firefox/Chrome) the light pixels become fairly dark but visible colors and the normal pixels become a grid of dark pixels. When the image is displayed in a renderer that does not support gamma (like Apple/Microsoft rendering) The untransformed image is shown surrounded by a grid of seemingly white pixels.
Installation and Usage
You can install the doubleVision gem and command using:
$ gem install doubleVision
Next, run the program like this:
doubleVision withgamma.png withoutgamma.png out.png
obviously replacing the filenames with your own.
It will combine the images into one image (out.png) that will display
withgamma.png when viewed with gamma support (e.g. in Firefox)
and withoutgamma.png when displayed without gamma support (e.g. As a thumbnail)
For more detailed instructions read the README on Github
Other Example

Was generated from:
 and
and


